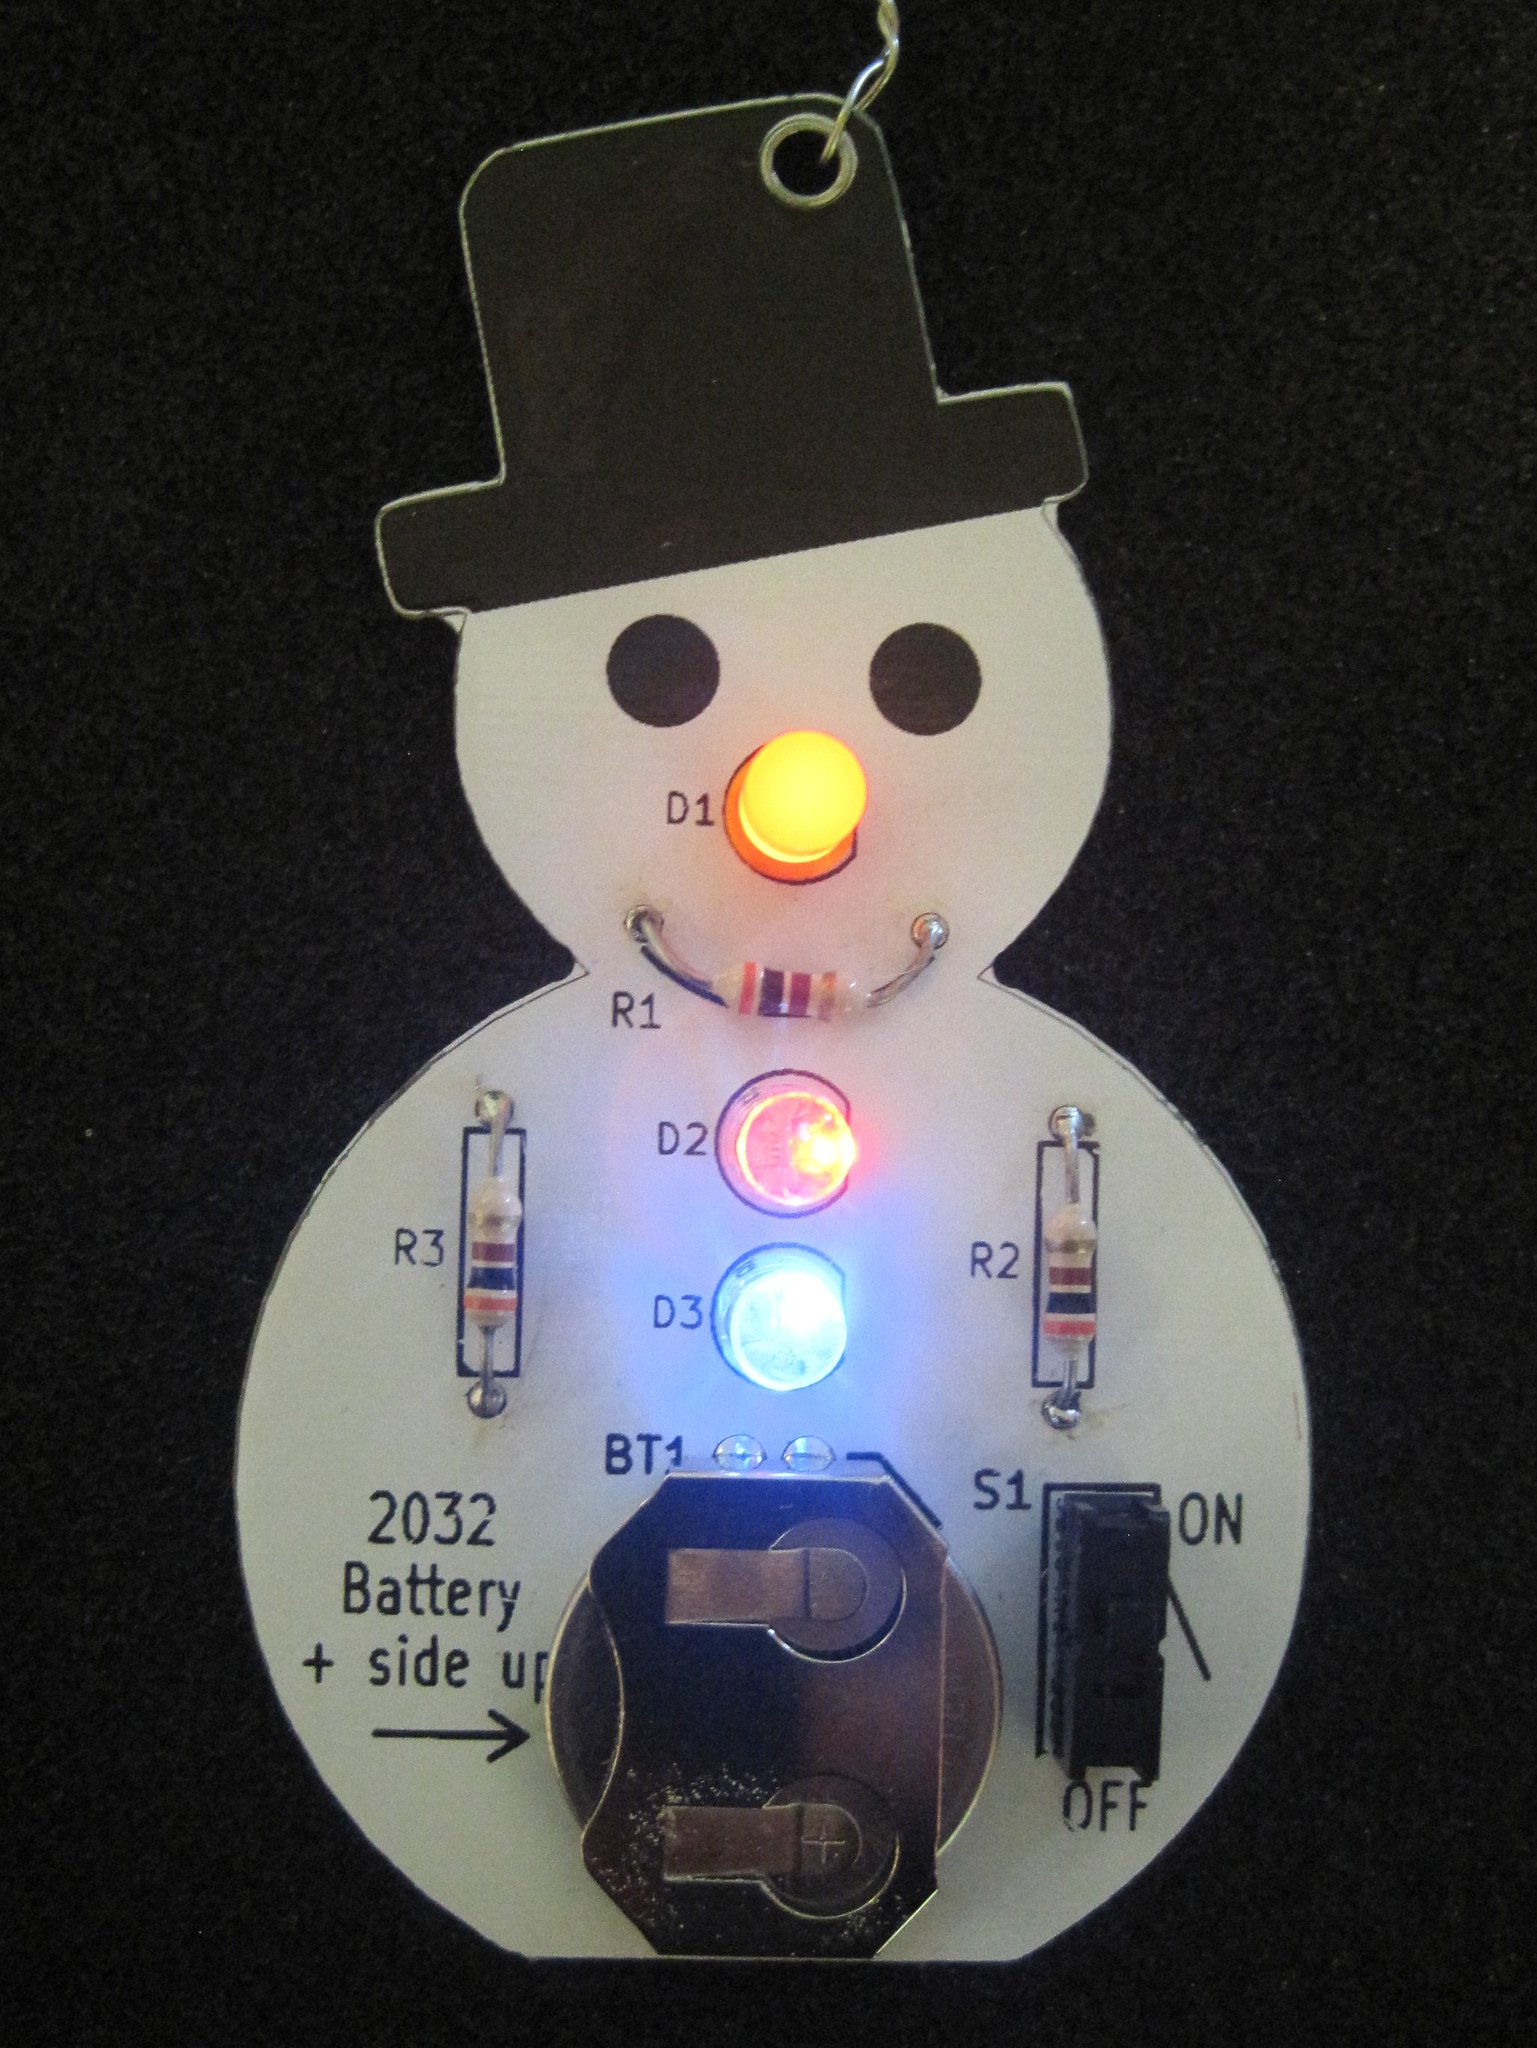
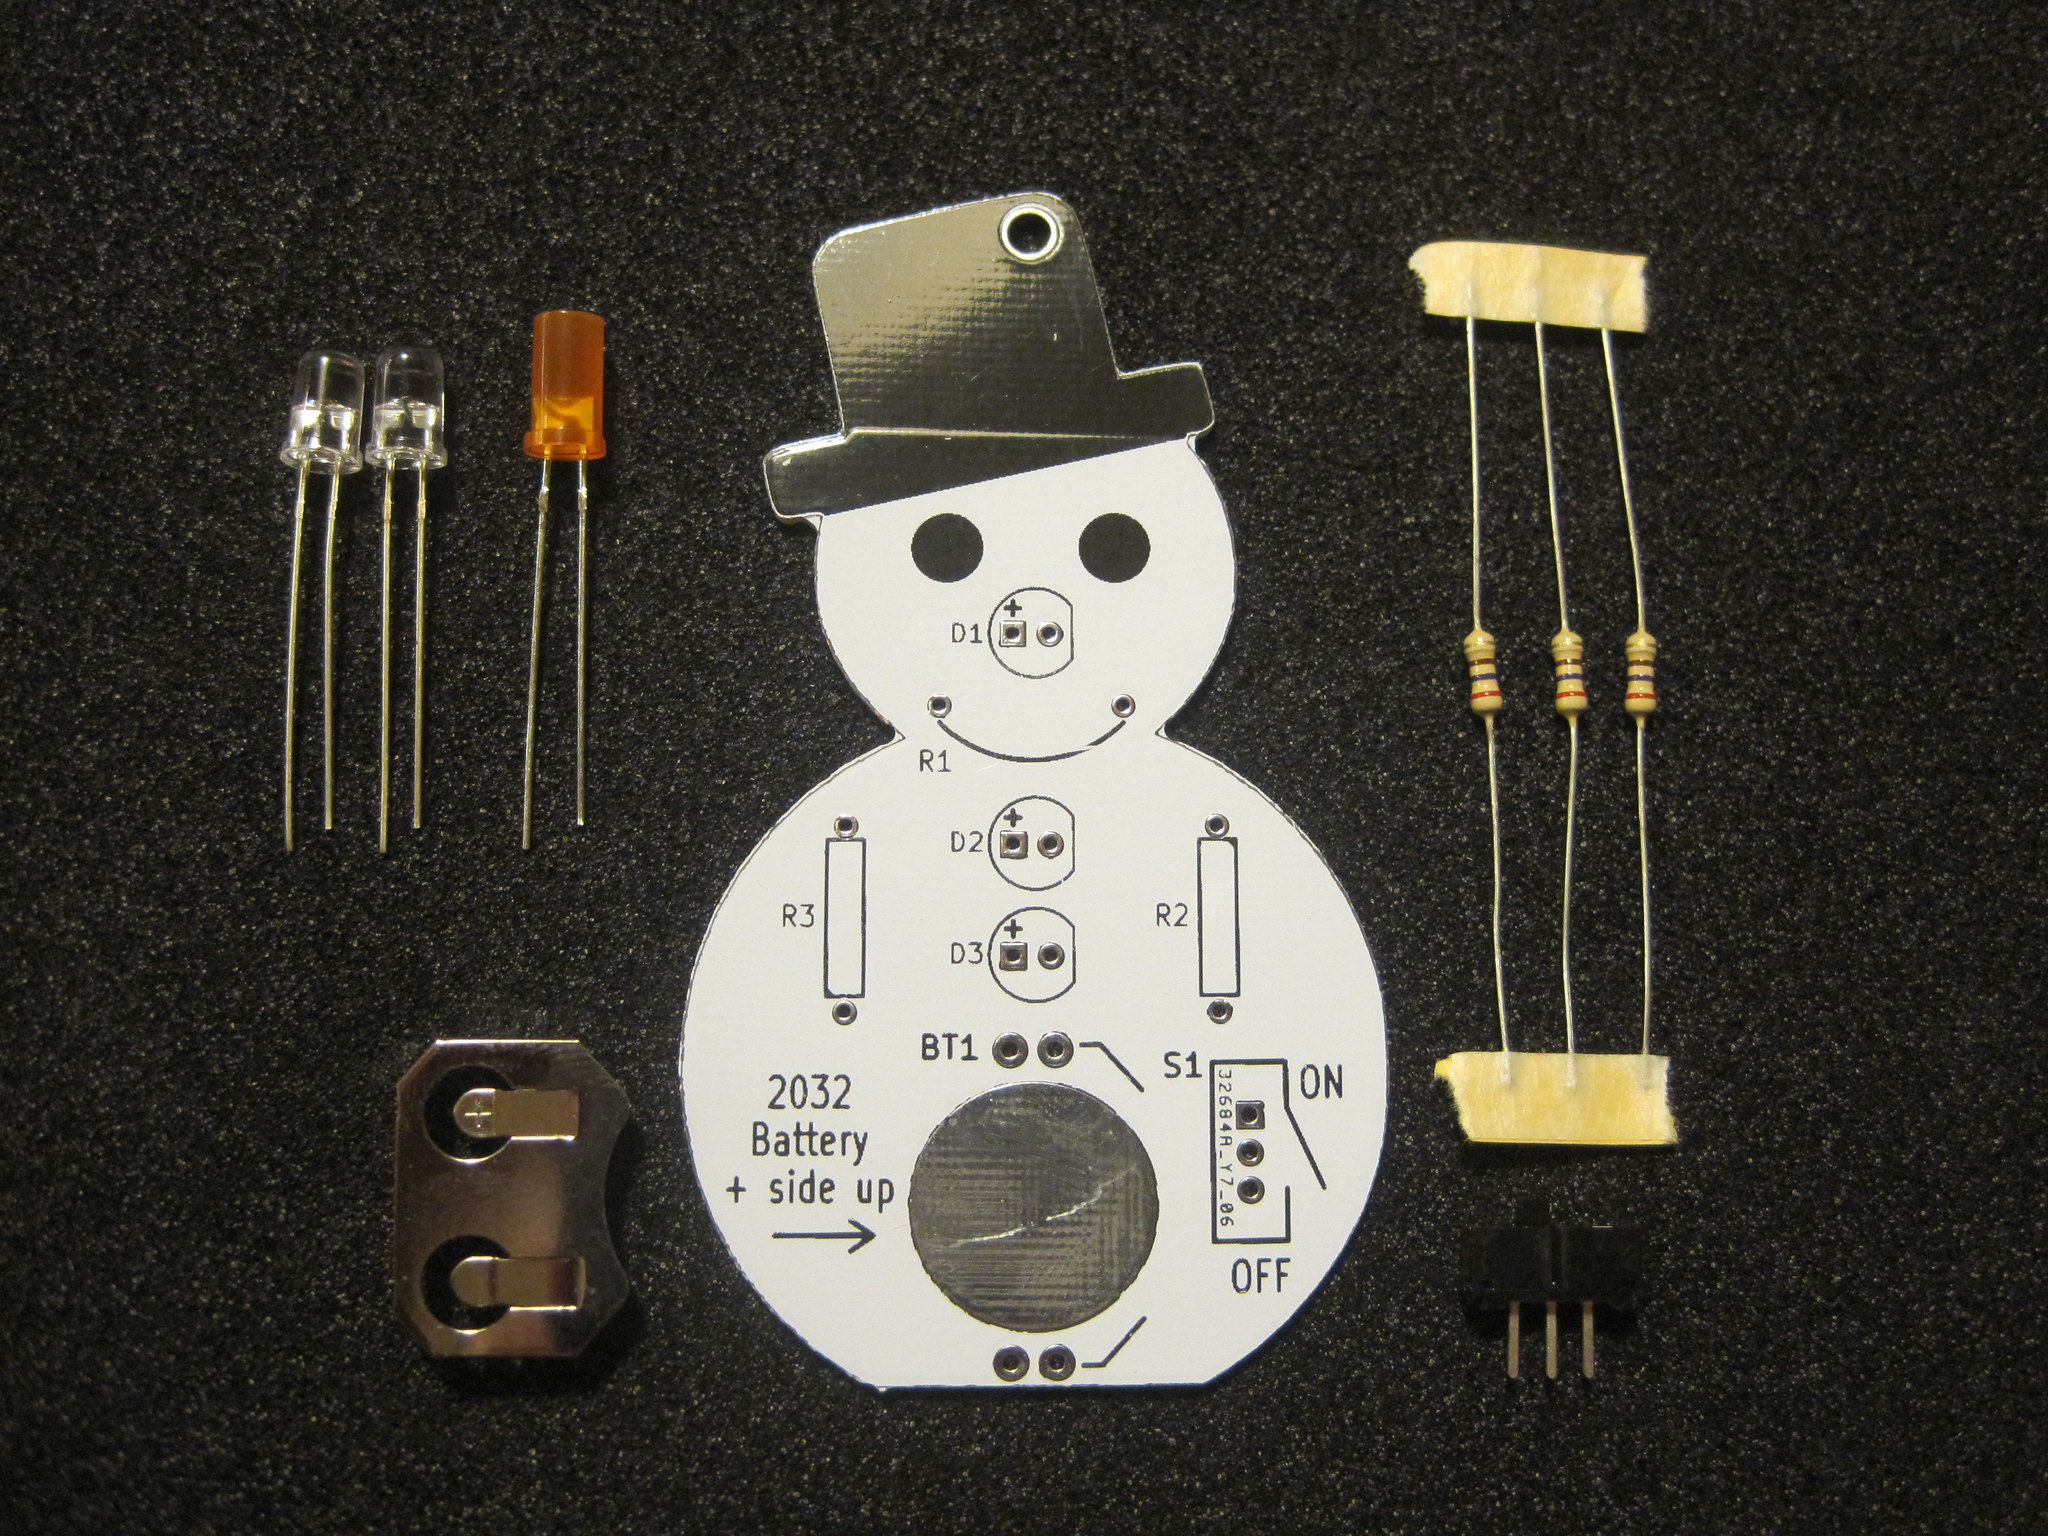
Step 1: Verify the parts included in the kit.
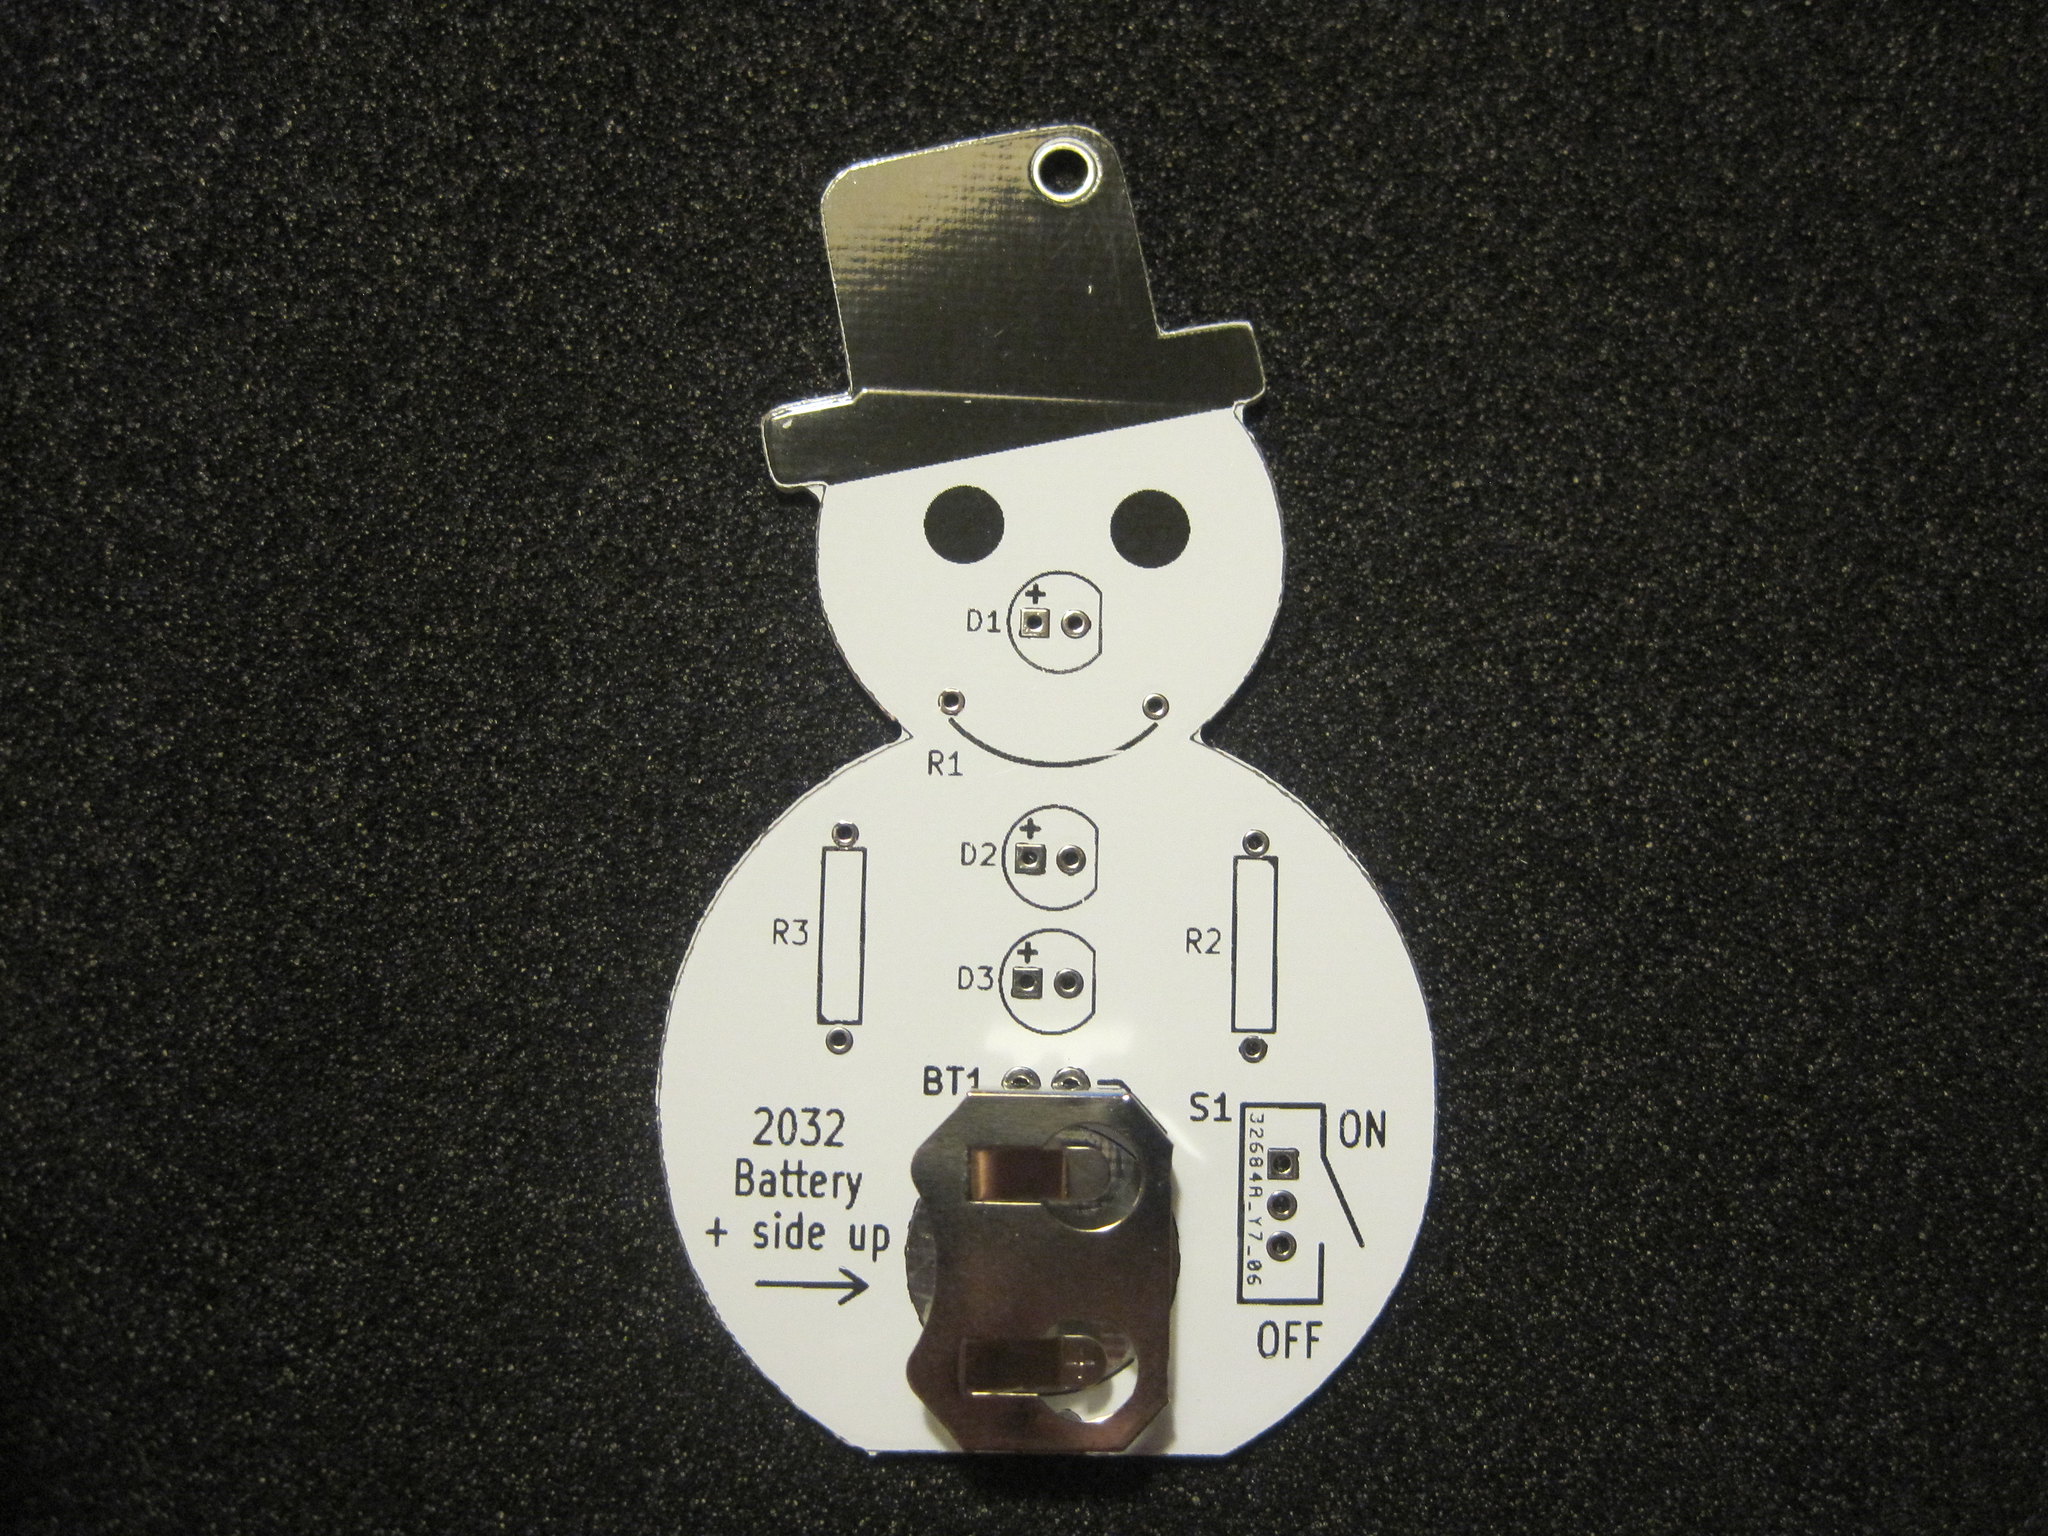
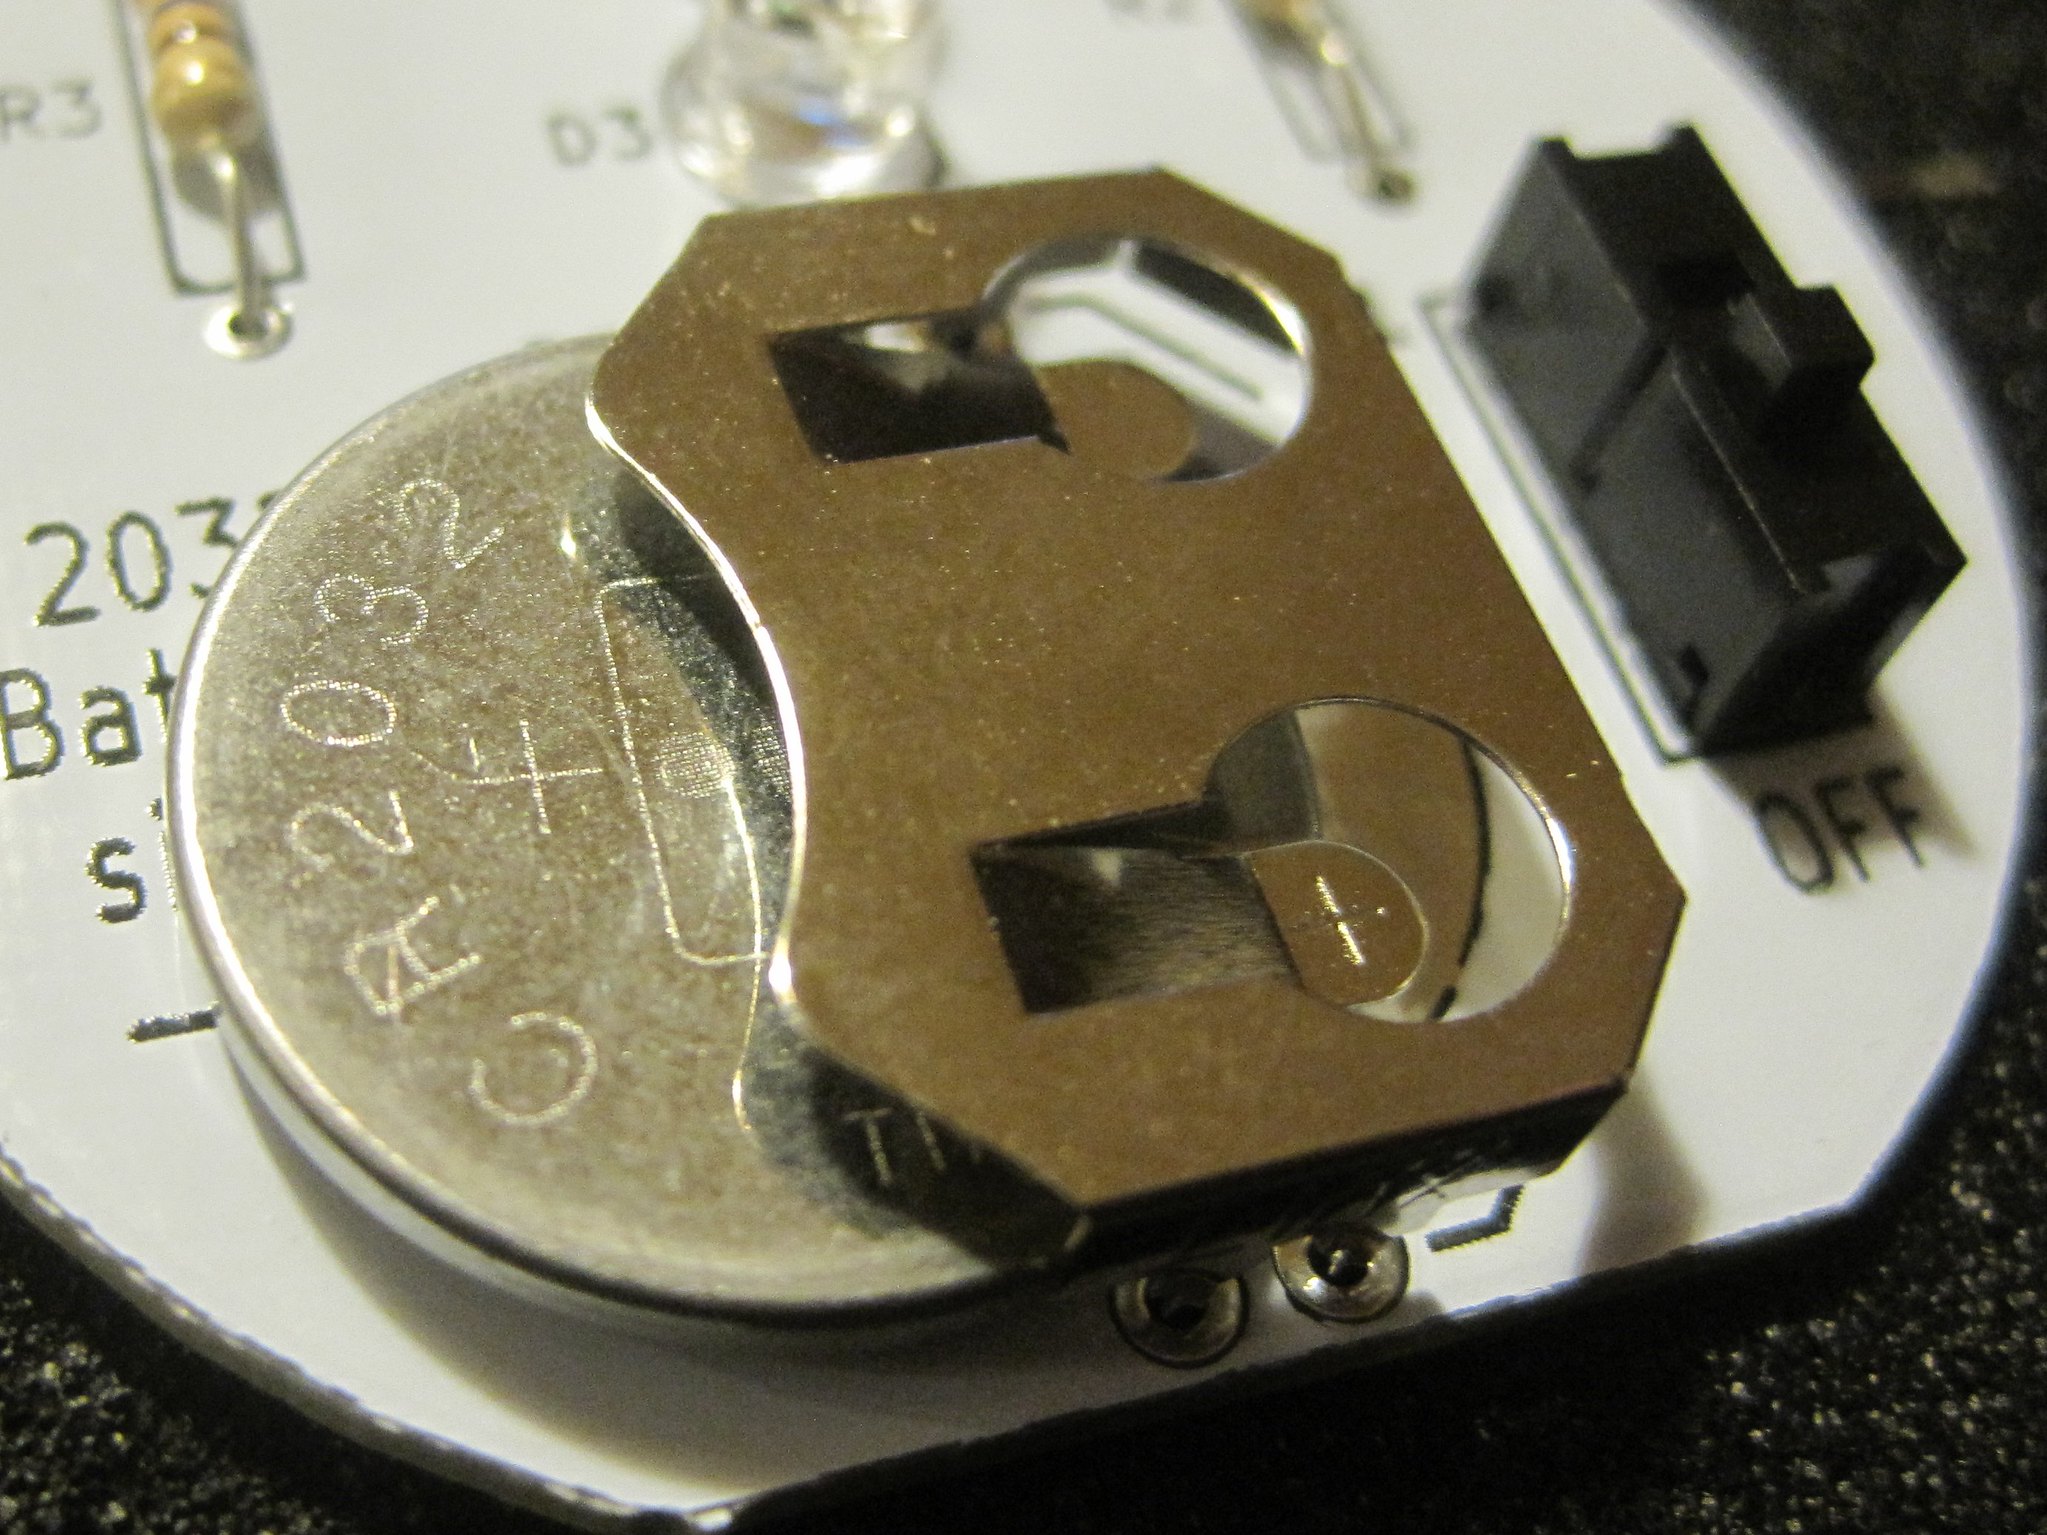
Step 2: Install the battery holder with the opening facing left.
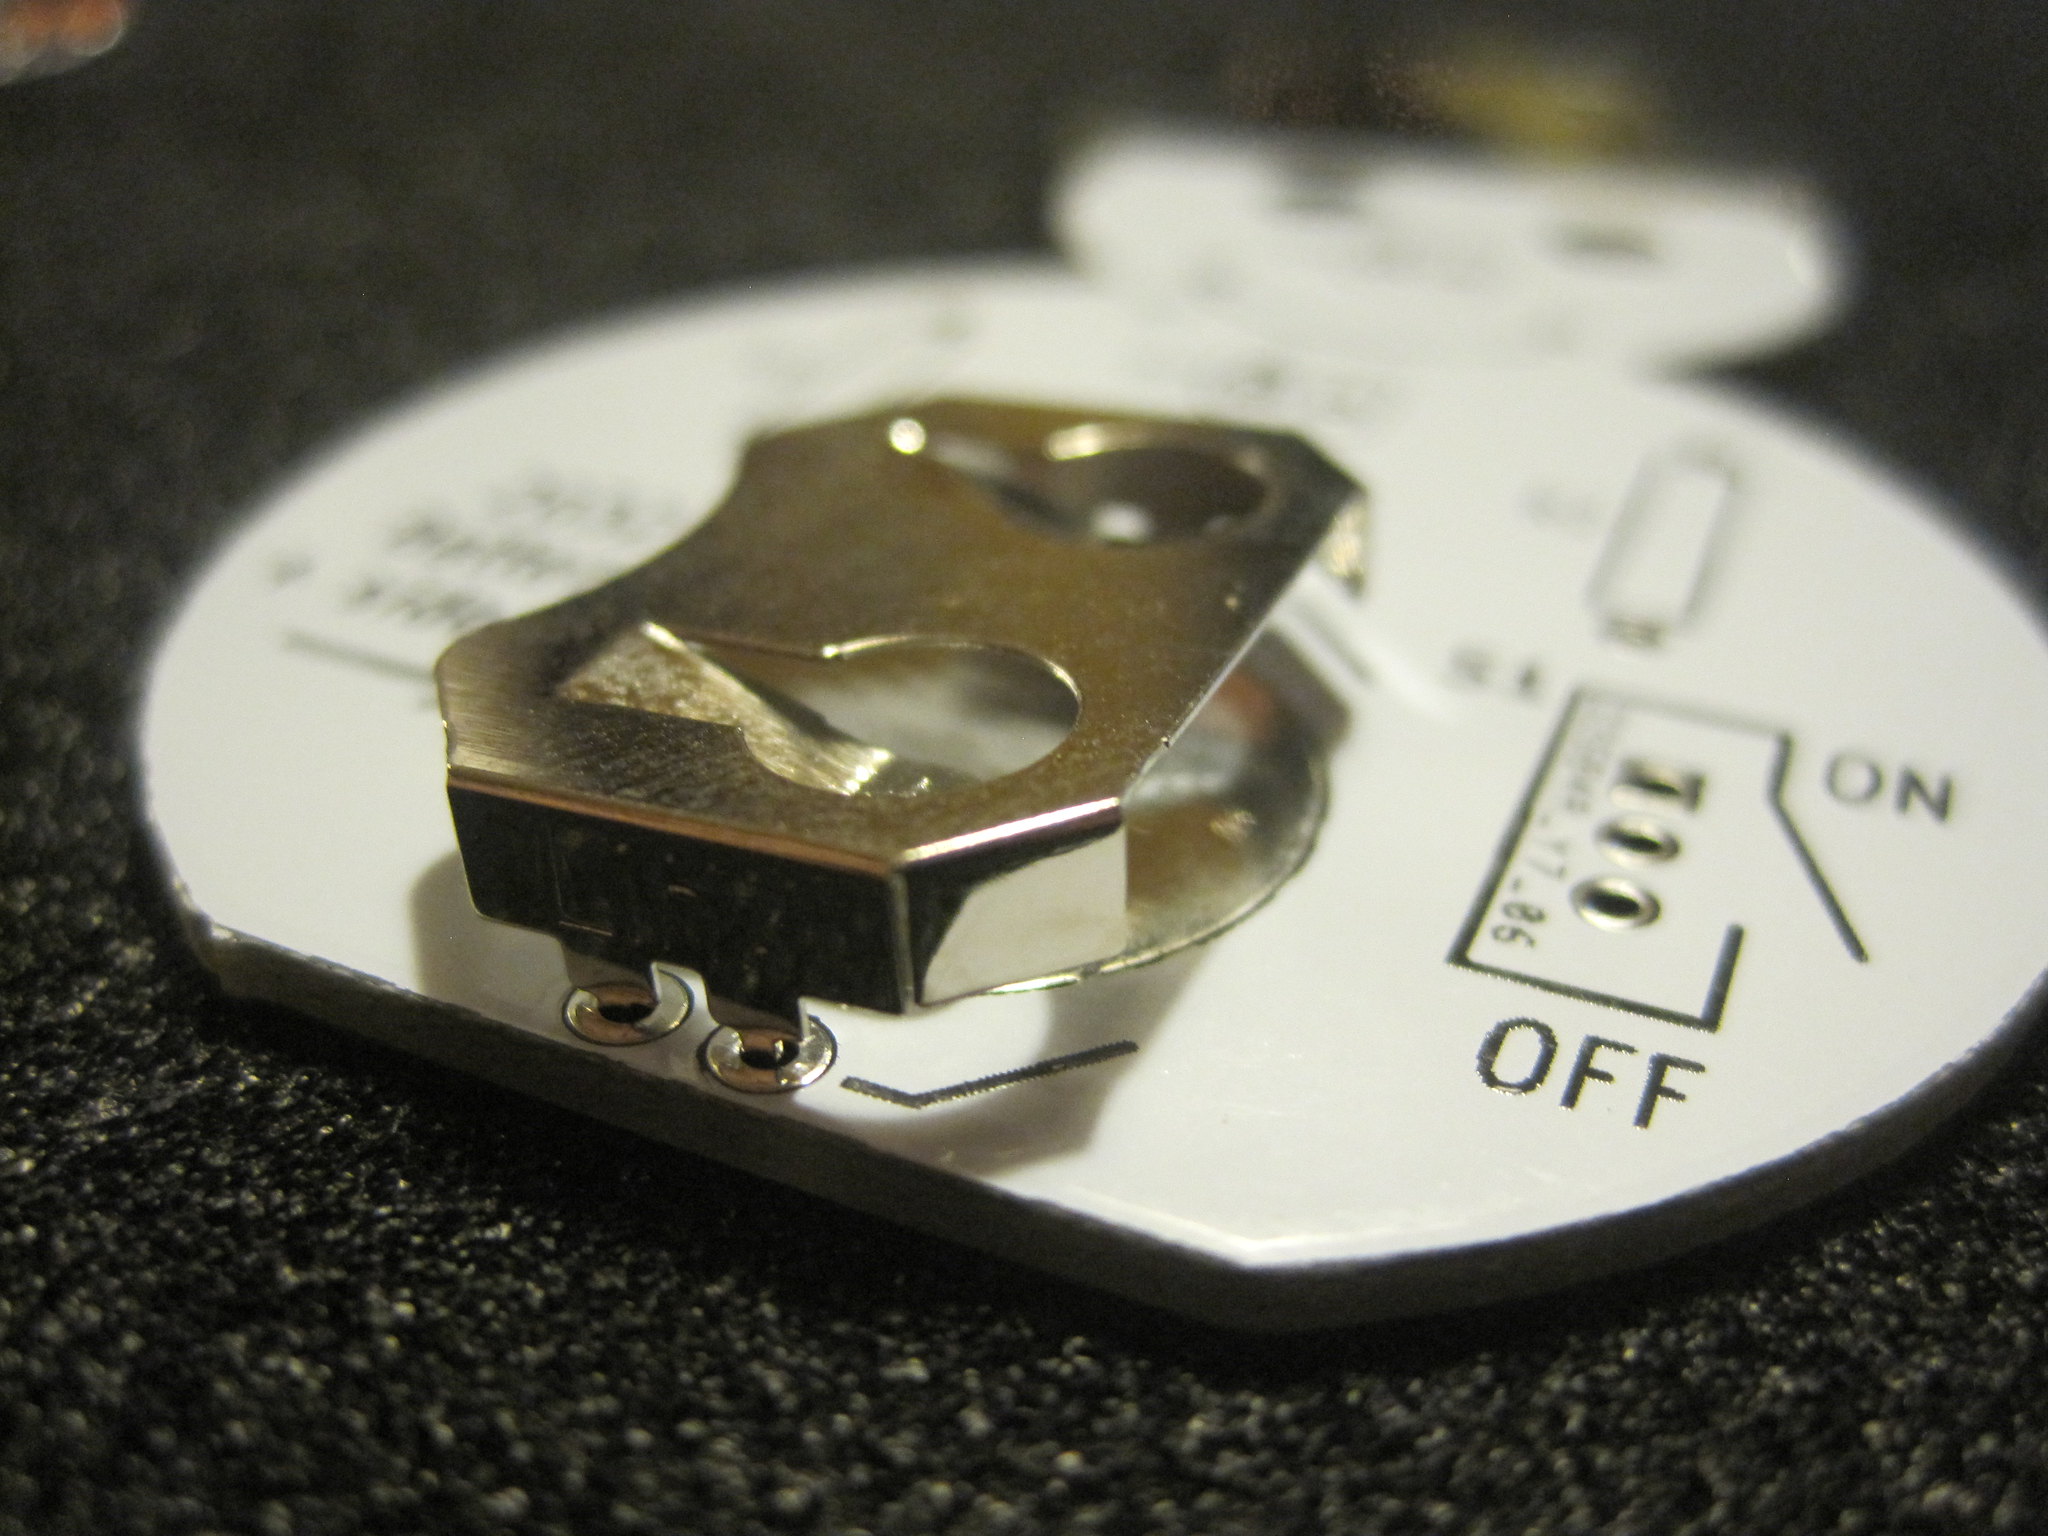
Step 3: Confirm the orientation of the battery holder.
Step 4: Install LEDs D1, D2 and D3 ensuring the longer lead is connected to the positive (+) side.
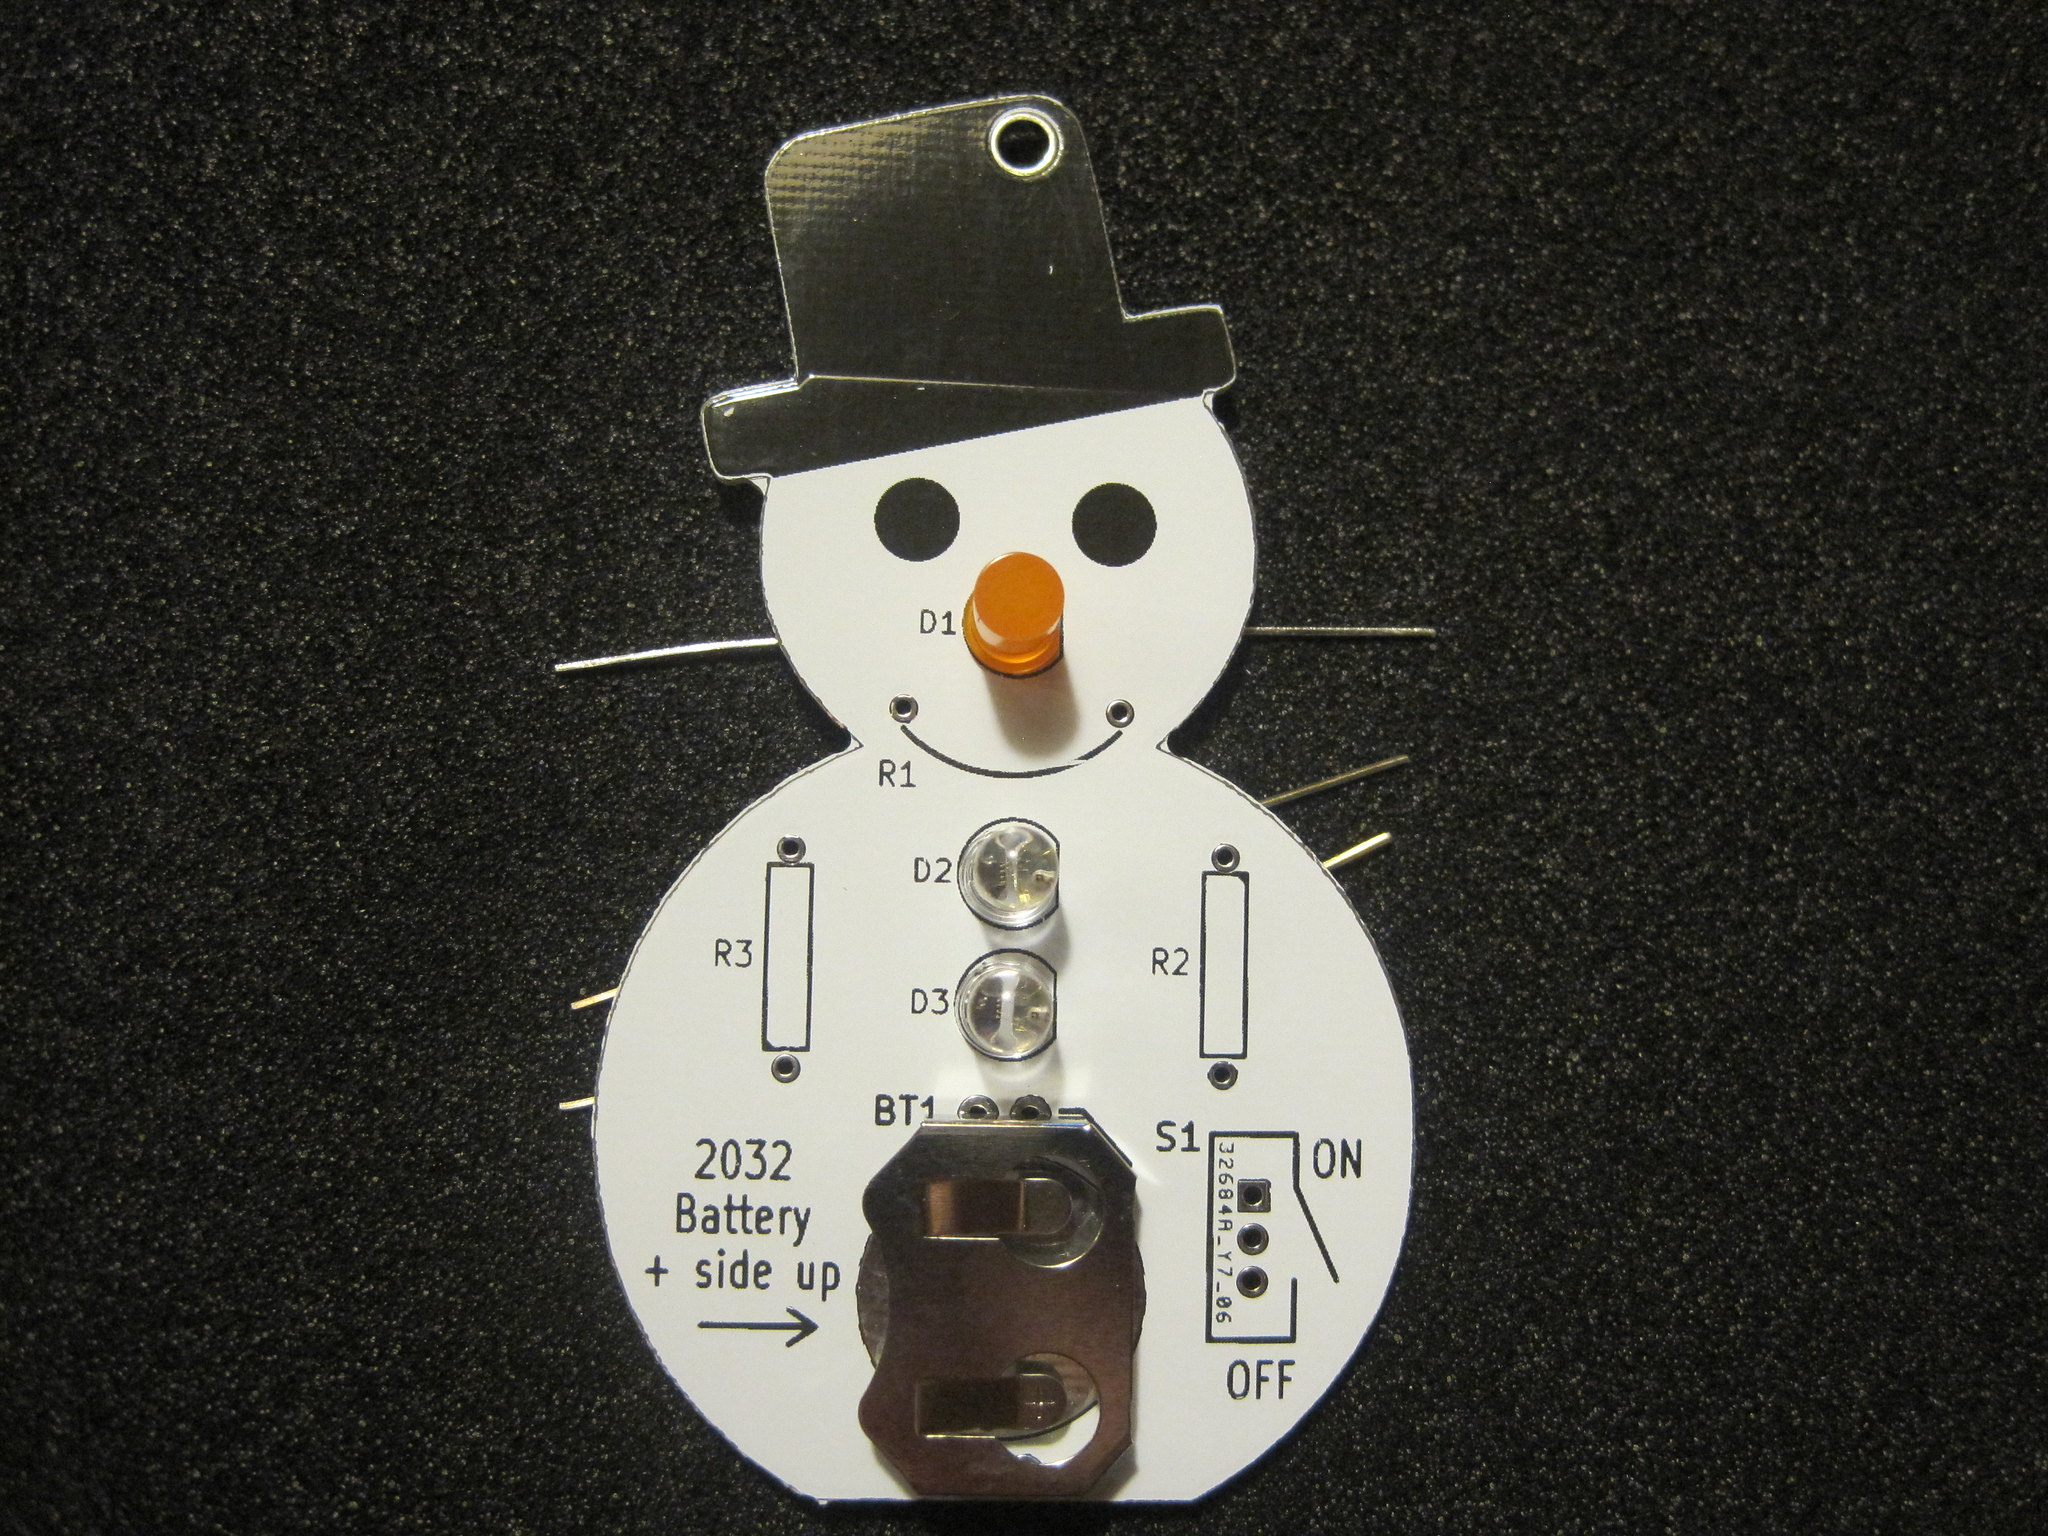
Step 5: Fold the leads of the components over as you install them to secure them in place.

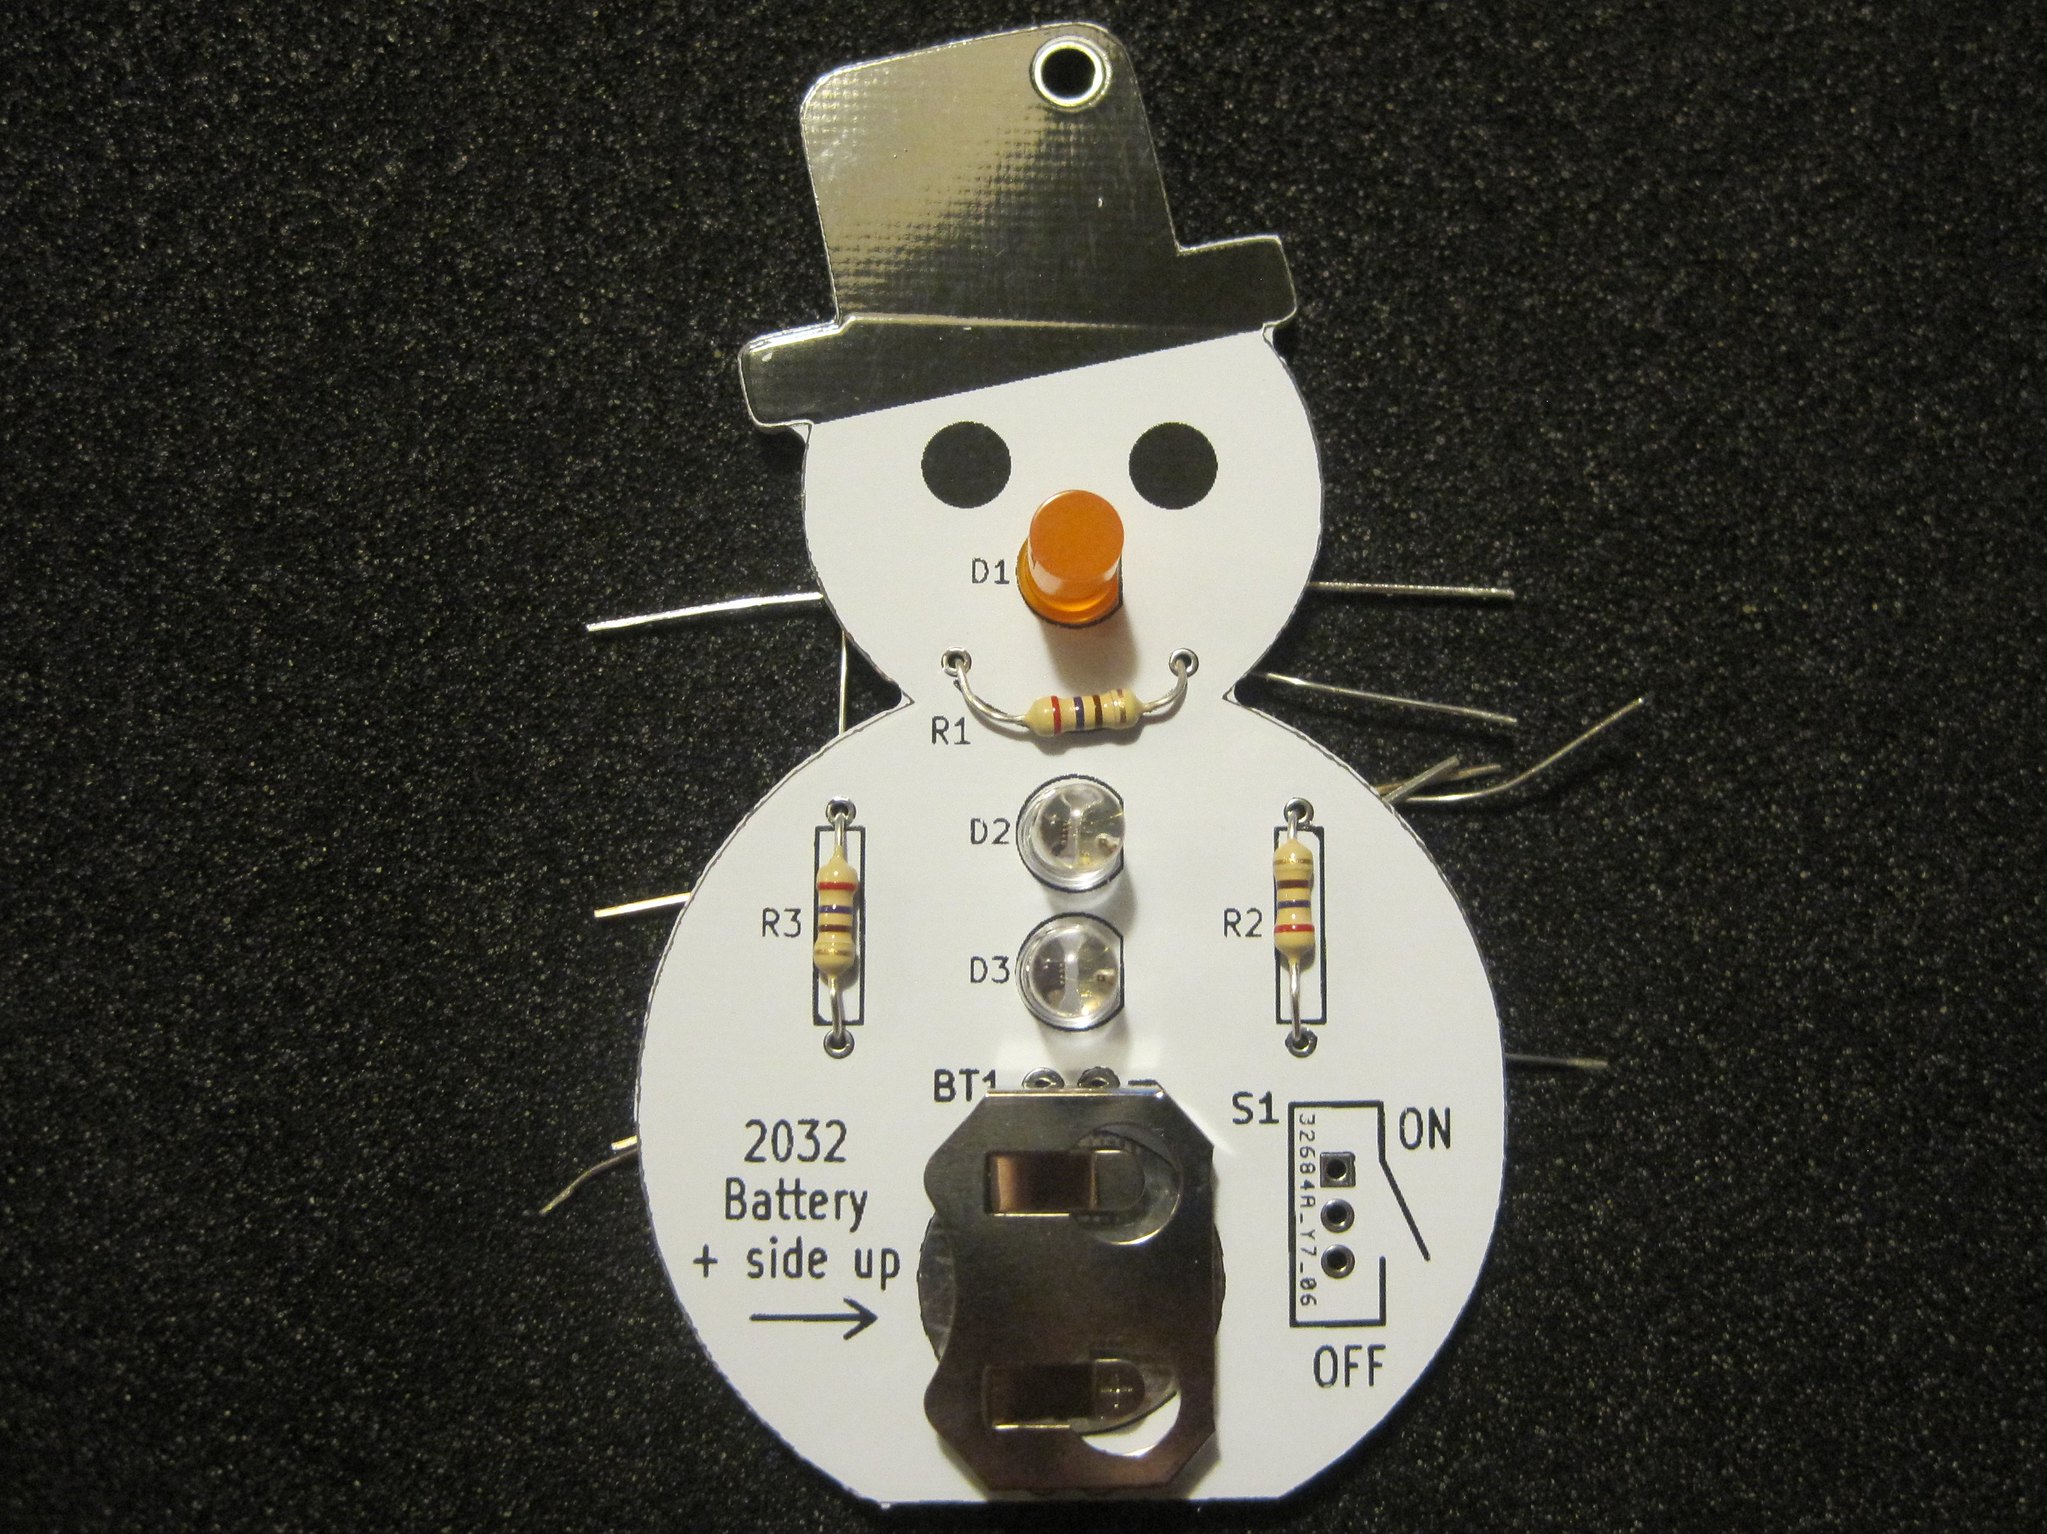
Step 6: Install resistors R1, R2 and R3.
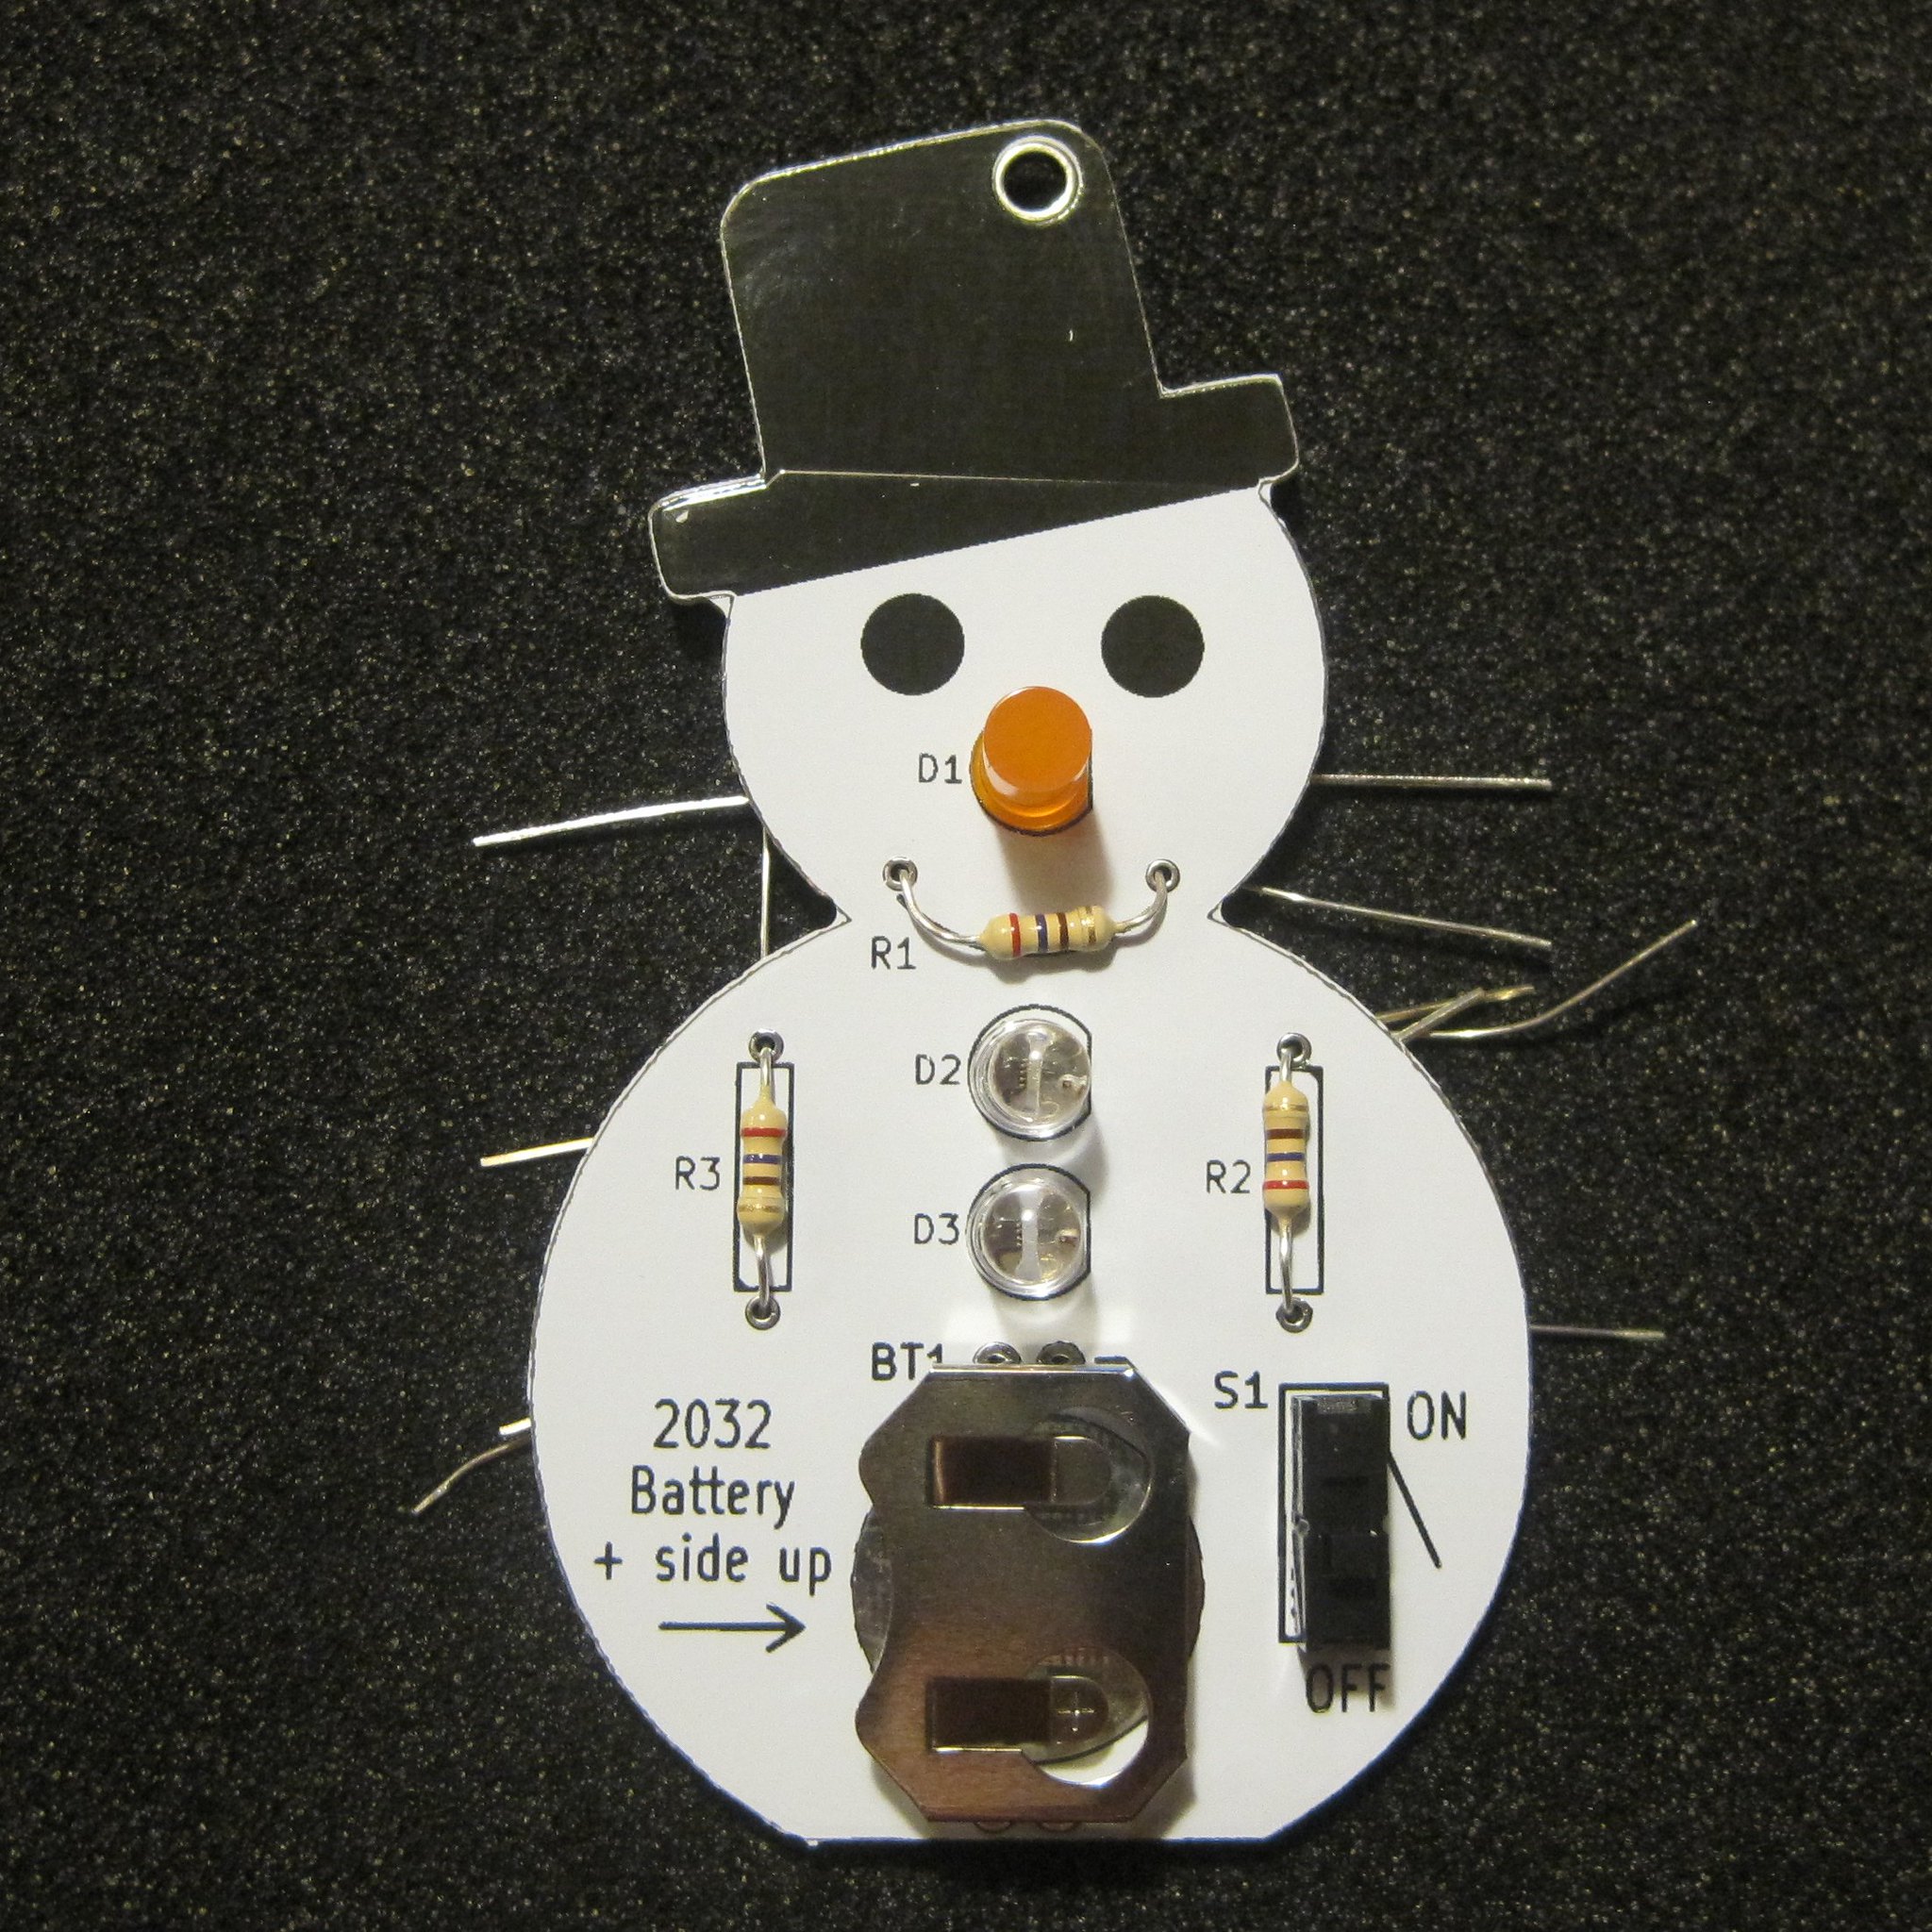
Step 7: Install switch S1.
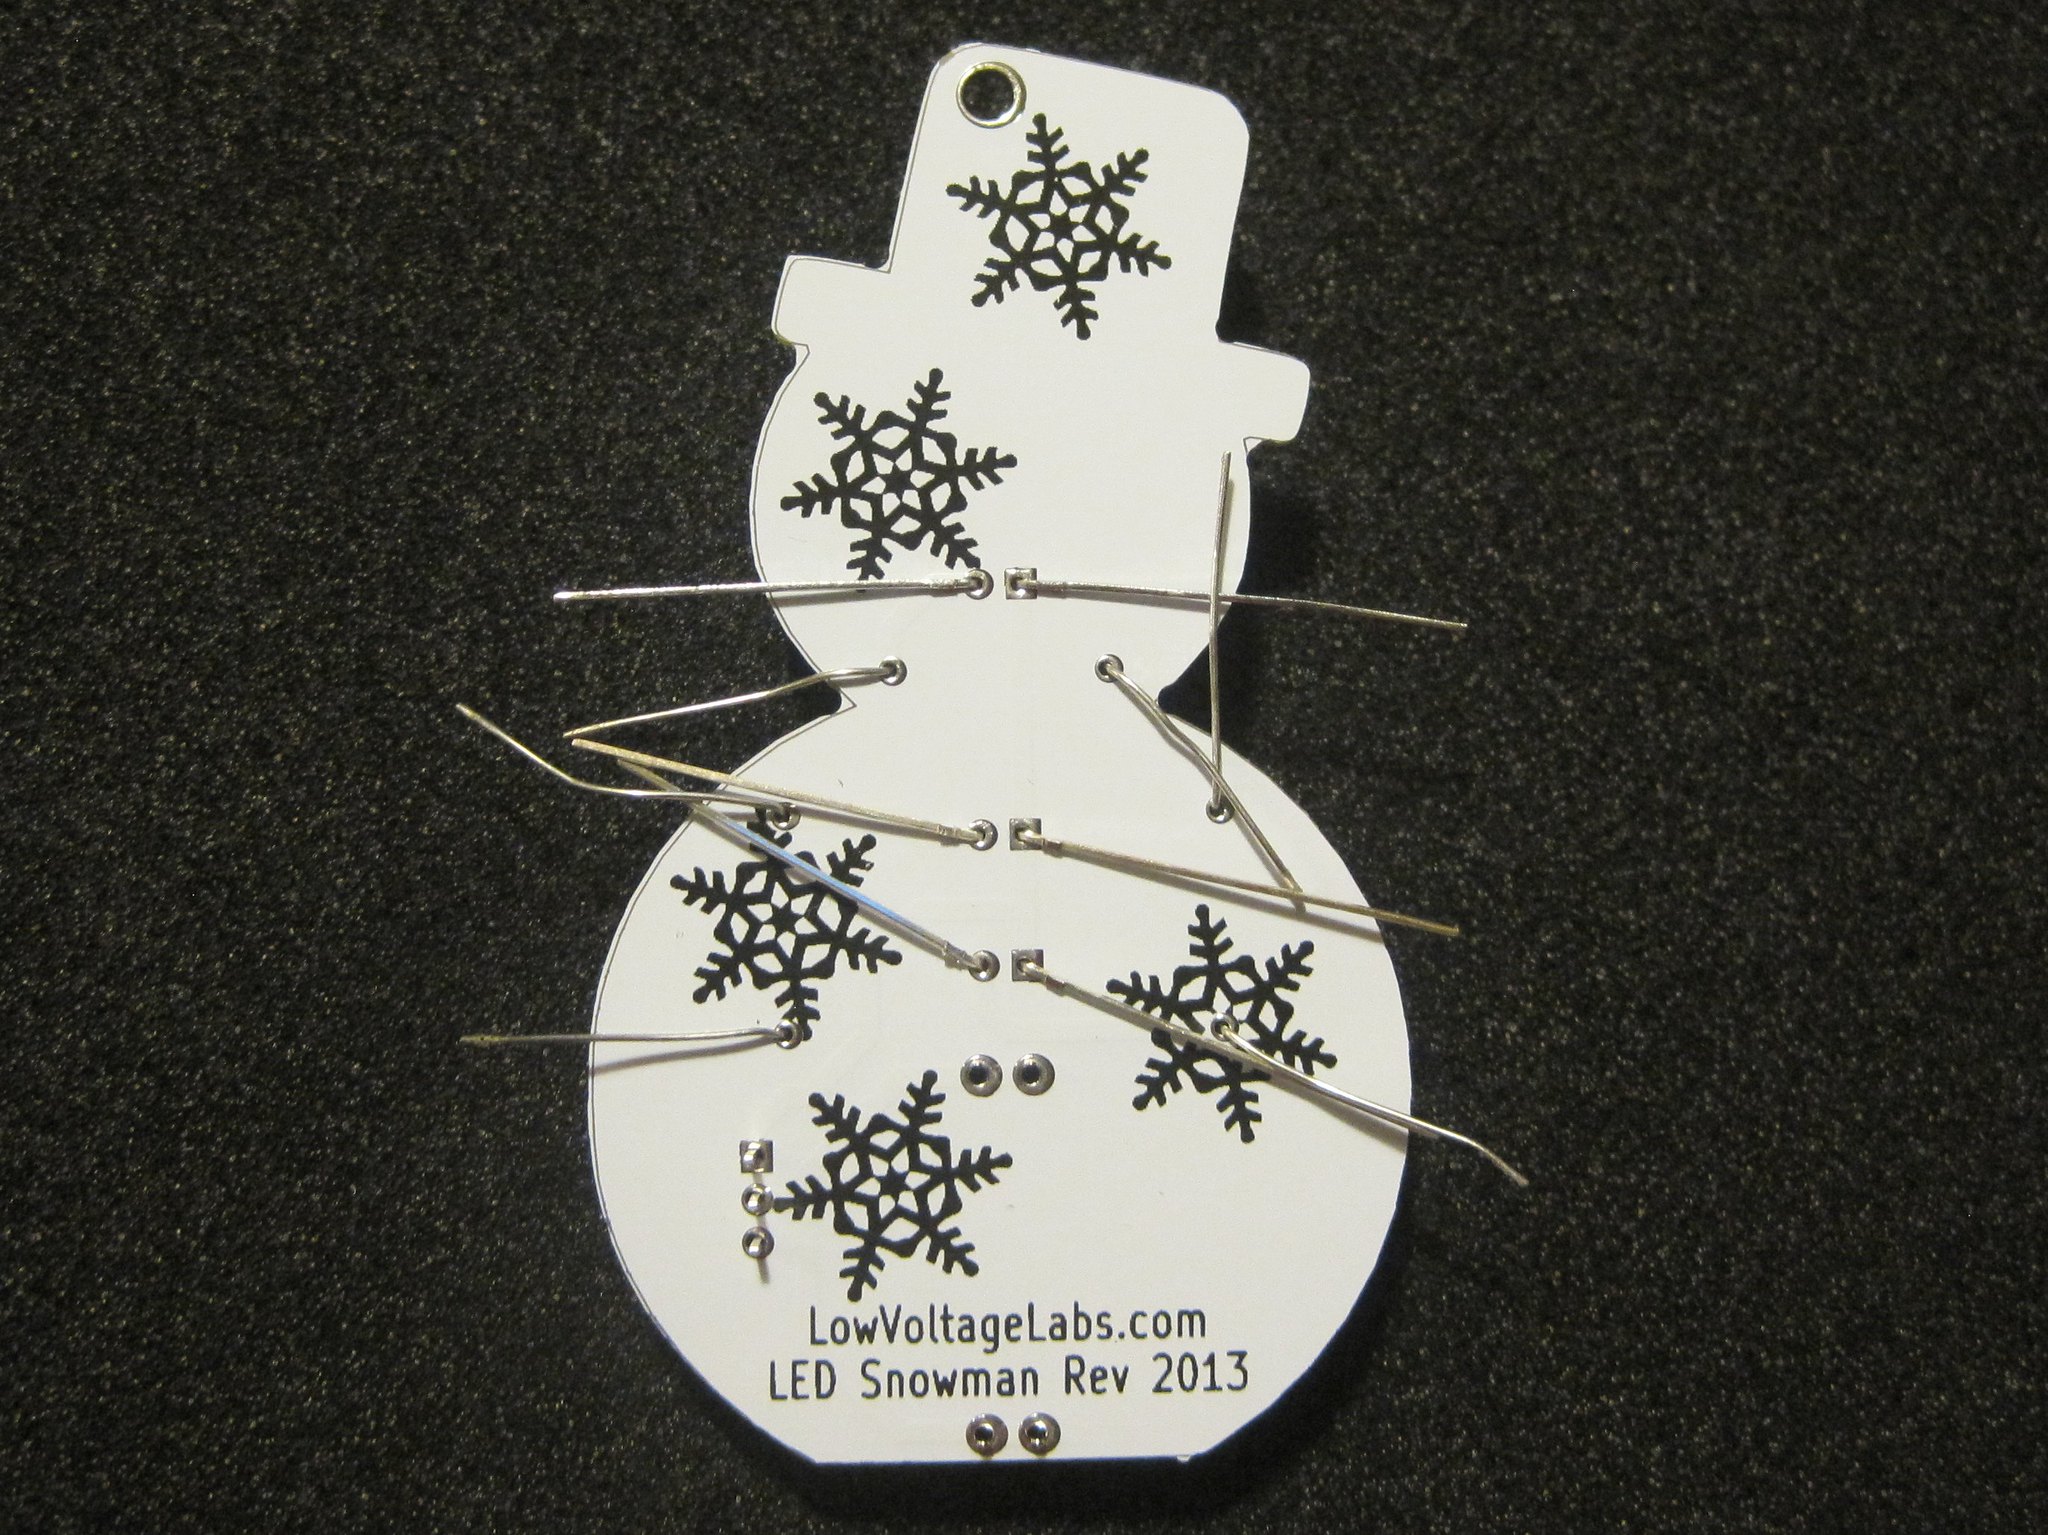
Step 8: Flip the PCB over and solder the components.
Step 9: Insert a 2032 battery with the positive side facing up.
Step 10: Turn on the switch and watch the LEDs flash.
